
오늘은 동기가 보여준 html/css 를 따라 만들어 보았씁니다.
페이지를 보여주고 설명해주면 제가 만들어봤어여...
확실히 혼자 하는 것보다 쭈음.. 굿!
1. 프로필 페이지 만들기
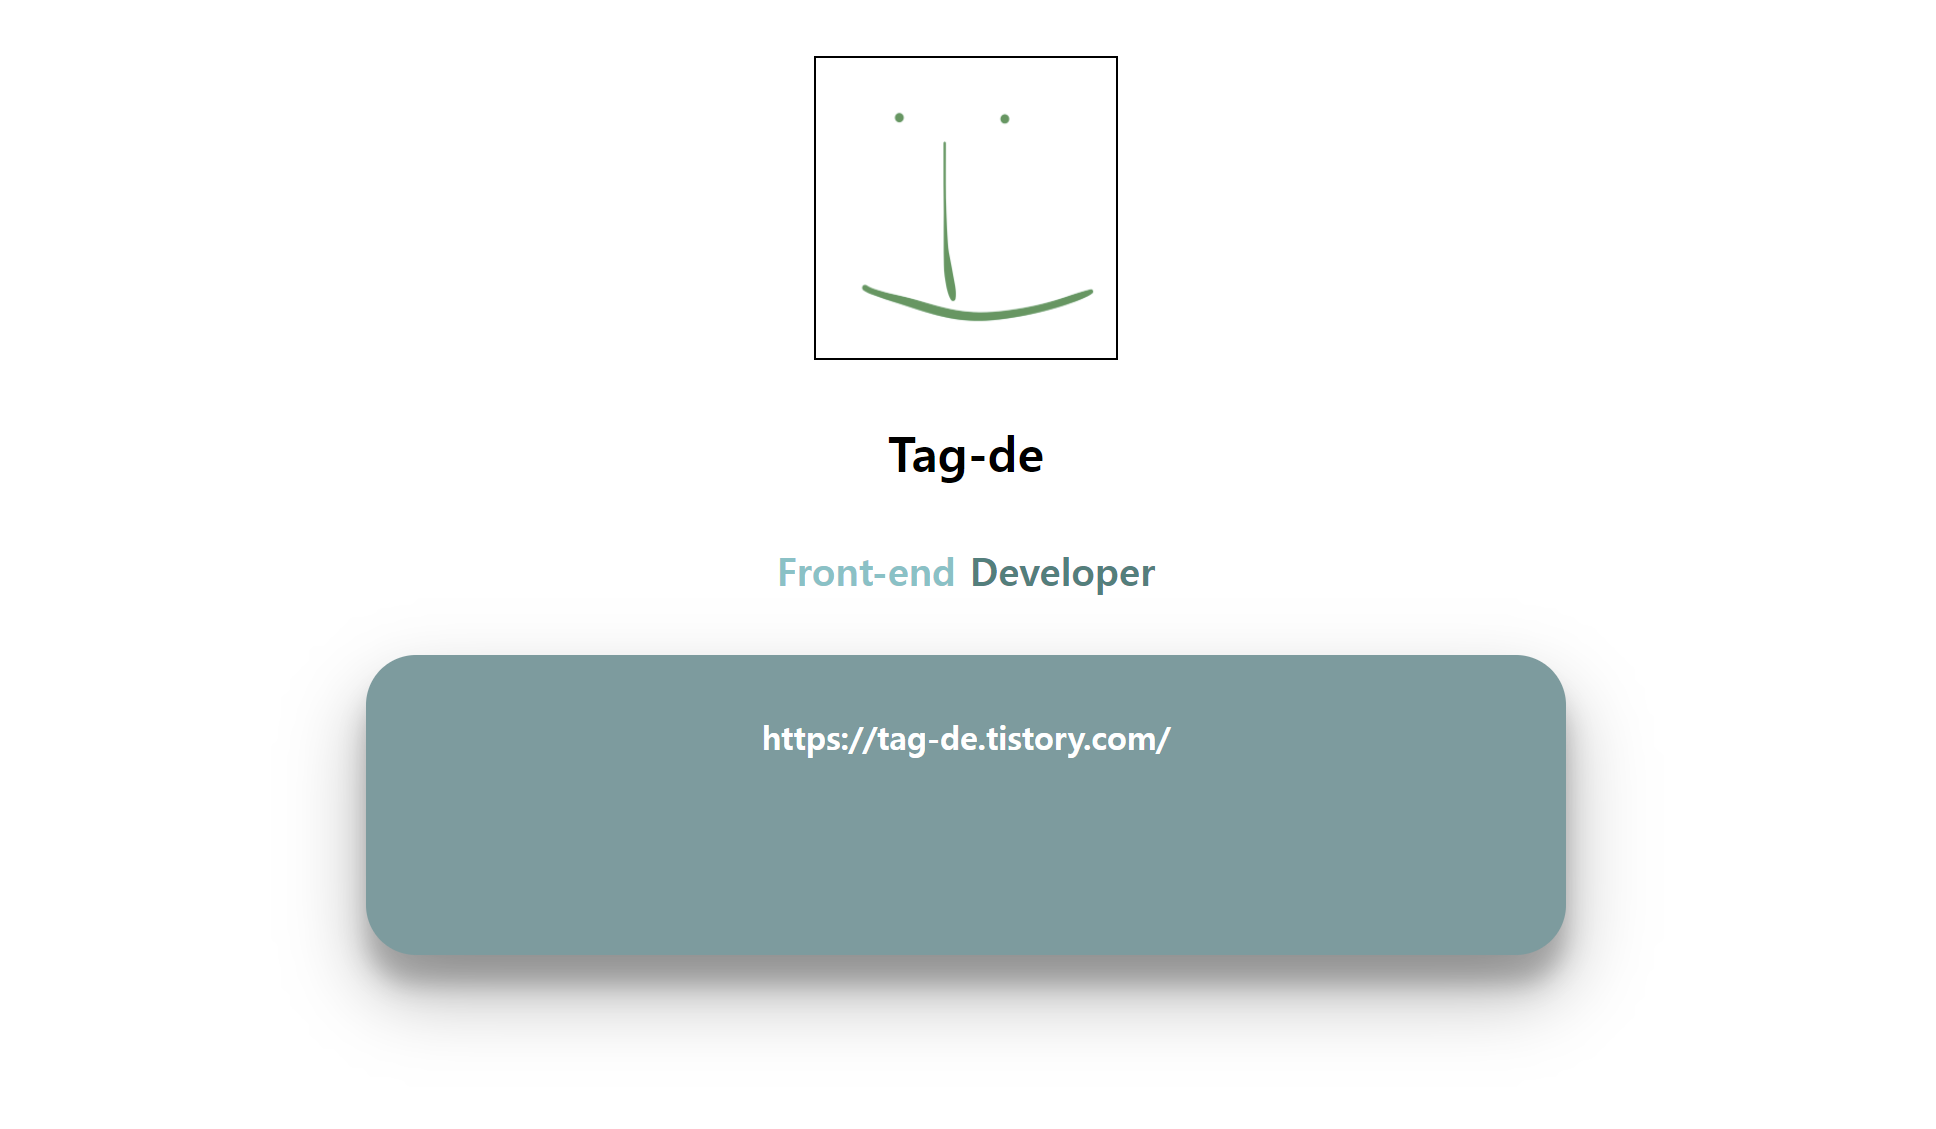
프로필 사진과 이름, 직무, 자기소개 등을 넣을 수 있는 페이지를 만들어보았어염
고딩때분명만든적있는것들인데
그냥그시기를제머릿속에서지우려고요
html
<!DOCTYPE html>
<html lang="en">
  <head>
    <meta charset="UTF-8" />
    <meta name="viewport" content="width=device-width, initial-scale=1.0" />
    <title>Profile Page</title>
    <link rel="stylesheet" href="/css/style2.css" />
  </head>
  <body>
    <div class="profile">
      <img src="/img/kooooo.png" class="profileimg" />
    </div>
    <p class="name">Tag-de</p>
    <p class="job">
      <span style="color: #69c3c7"> Front-end </span>
      <span style="color: #37817d"> Developer </span>
    </p>
    <div class="box">
      <p>https://tag-de.tistory.com/</p>
    </div>
  </body>
</html>
css
* {
  margin: 0;
  padding: 0;
}
.profile {
  display: flex;
  justify-content: center;
  margin: 30px;
}
.profileimg {
  height: 150px;
  width: 150px;
  border: 1px solid black;
}
.name {
  font-size: x-large;
  font-weight: bold;
  display: flex;
  justify-content: center;
}
.job {
  font-size: larger;
  font-weight: bold;
  text-align: center;
  margin: 30px 0;
}
.box {
  display: block;
  margin: 0 auto;
  background-color: #6f9c9f;
  border-radius: 25px;
  box-shadow: 0 19px 38px rgba(0, 0, 0, 0.3), 0 15px 12px rgba(0, 0, 0, 0.22);
  height: 150px;
  width: 600px;
}
.box p {
  color: white;
  font-weight: bold;
  text-align: center;
  padding: 30px 50px;
}
2. float으로 페이지 구분하기

float 속성을 이용해서 칸을 구분해보았습니다~~
html
<!DOCTYPE html>
<html lang="ko">
  <head>
    <meta charset="UTF-8" />
    <meta name="viewport" content="width=device-width, initial-scale=1.0" />
    <title>float</title>
    <link rel="stylesheet" href="/css/style3.css" />
  </head>
  <body>
    <div>
      <div class="header"></div>
      <div class="left"></div>
      <div class="right"></div>
      <div class="footer"></div>
    </div>
  </body>
</html>
css
* {
  margin: 0;
  padding: 0;
}
body {
  height: 100vh;
  width: 100vw;
}
div {
  height: 100%;
  width: 100%;
}
.header {
  height: 10%;
  width: 100%;
  background-color: antiquewhite;
}
.left {
  height: 80%;
  width: 20%;
  background-color: rgb(103, 208, 173);
  float: left;
}
.right {
  height: 80%;
  width: 80%;
  background-color: rgb(143, 230, 230);
  float: left;
}
.footer {
  height: 10%;
  width: 100%;
  background-color: navajowhite;
  clear: both;
}
vh : viewport height
vw : viewport width
현재 실행중인 창의 크기에 맞춰 상대적으로 크기를 맞춥니다.
clear: both;
새로 정렬하고 싶은 부분에 해당 코드를 추가해 float을 지워줍니다.
요소가 없으니까 창 크기가 전부 0으로 맞춰지더라구요
100% 해봐야 0이기 때문에 body에 100vh/vw으로 맞춰뒀습니다. ㅜㅡㅜ
3. 쇼핑몰 후기st

앞에서 배운 float 속성을 활용해 구역을 나누는 연습을 더 해봤습니다.
html
<!DOCTYPE html>
<html lang="en">
  <head>
    <meta charset="UTF-8" />
    <title>shop</title>
    <link rel="stylesheet" href="/css/style4.css" />
  </head>
  <body>
    <div class="container">
      <div class="contents">
        <div class="profilebox">
          <img src="/img/zixcx.jpeg" />
          <p class="name">zixcx</p>
          <p class="time">1시간 전</p>
        </div>
        <div class="text">
          <h4 class="title">
            Lorem ipsum dolor sit amet consectetur adipisicing elit.
          </h4>
          <p class="maintext">
            Lorem, ipsum dolor sit amet consectetur adipisicing elit. Commodi ab
            excepturi officiis ad magni maiores debitis voluptates consectetur
            dicta perspiciatis autem rem mollitia ratione sed a, dolorem illum
            recusandae laborum?
          </p>
        </div>
      </div>
      <div class="img">
        <img src="/img/kooooo.png" />
      </div>
    </div>
  </body>
</html>
css
* {
  margin: 0;
  padding: 0;
  border: 0;
}
.container {
  display: flex;
  justify-content: center;
  padding: 150px 150px 0;
}
.contents {
  height: 100%;
  width: 500px;
  float: left;
}
.profilebox {
  height: 64px;
}
.profilebox > img {
  height: 48px;
  width: fit-content;
  border-radius: 50%;
  margin-right: 16px;
  float: left;
}
.name {
  font-weight: bold;
}
.text {
  clear: both;
}
.title {
  font-weight: bold;
  margin-bottom: 30px;
}
.img {
  display: flex;
  height: 100%;
  margin-left: 64px;
  float: left;
}
.img > img {
  height: 150px;
  width: 200px;
  border: 1px solid salmon;
}
이 부분부터 슬퍼졌습니다
어? 나... 바보일지도?
간단한 페이지 하나 만드는 데에 뭐가 이렇게 오래 걸릴까요
중간에 태그 이름 바꾸고 겹치고 난리
으엉엉엉
더 깔끔하게 할 수 있을 것 같은데
마음대로 잘 안되네요
하... 눈물회피하고싶다
오늘도 전과를 고민합니다...
hing
그렇지만 아직 어색해서 그렇다고 생각할게요
앞으로 배워갈수록 속도가 빨라질 거라니 이거 완전....
lucky vicky. . . ☆
4. 장바구니st
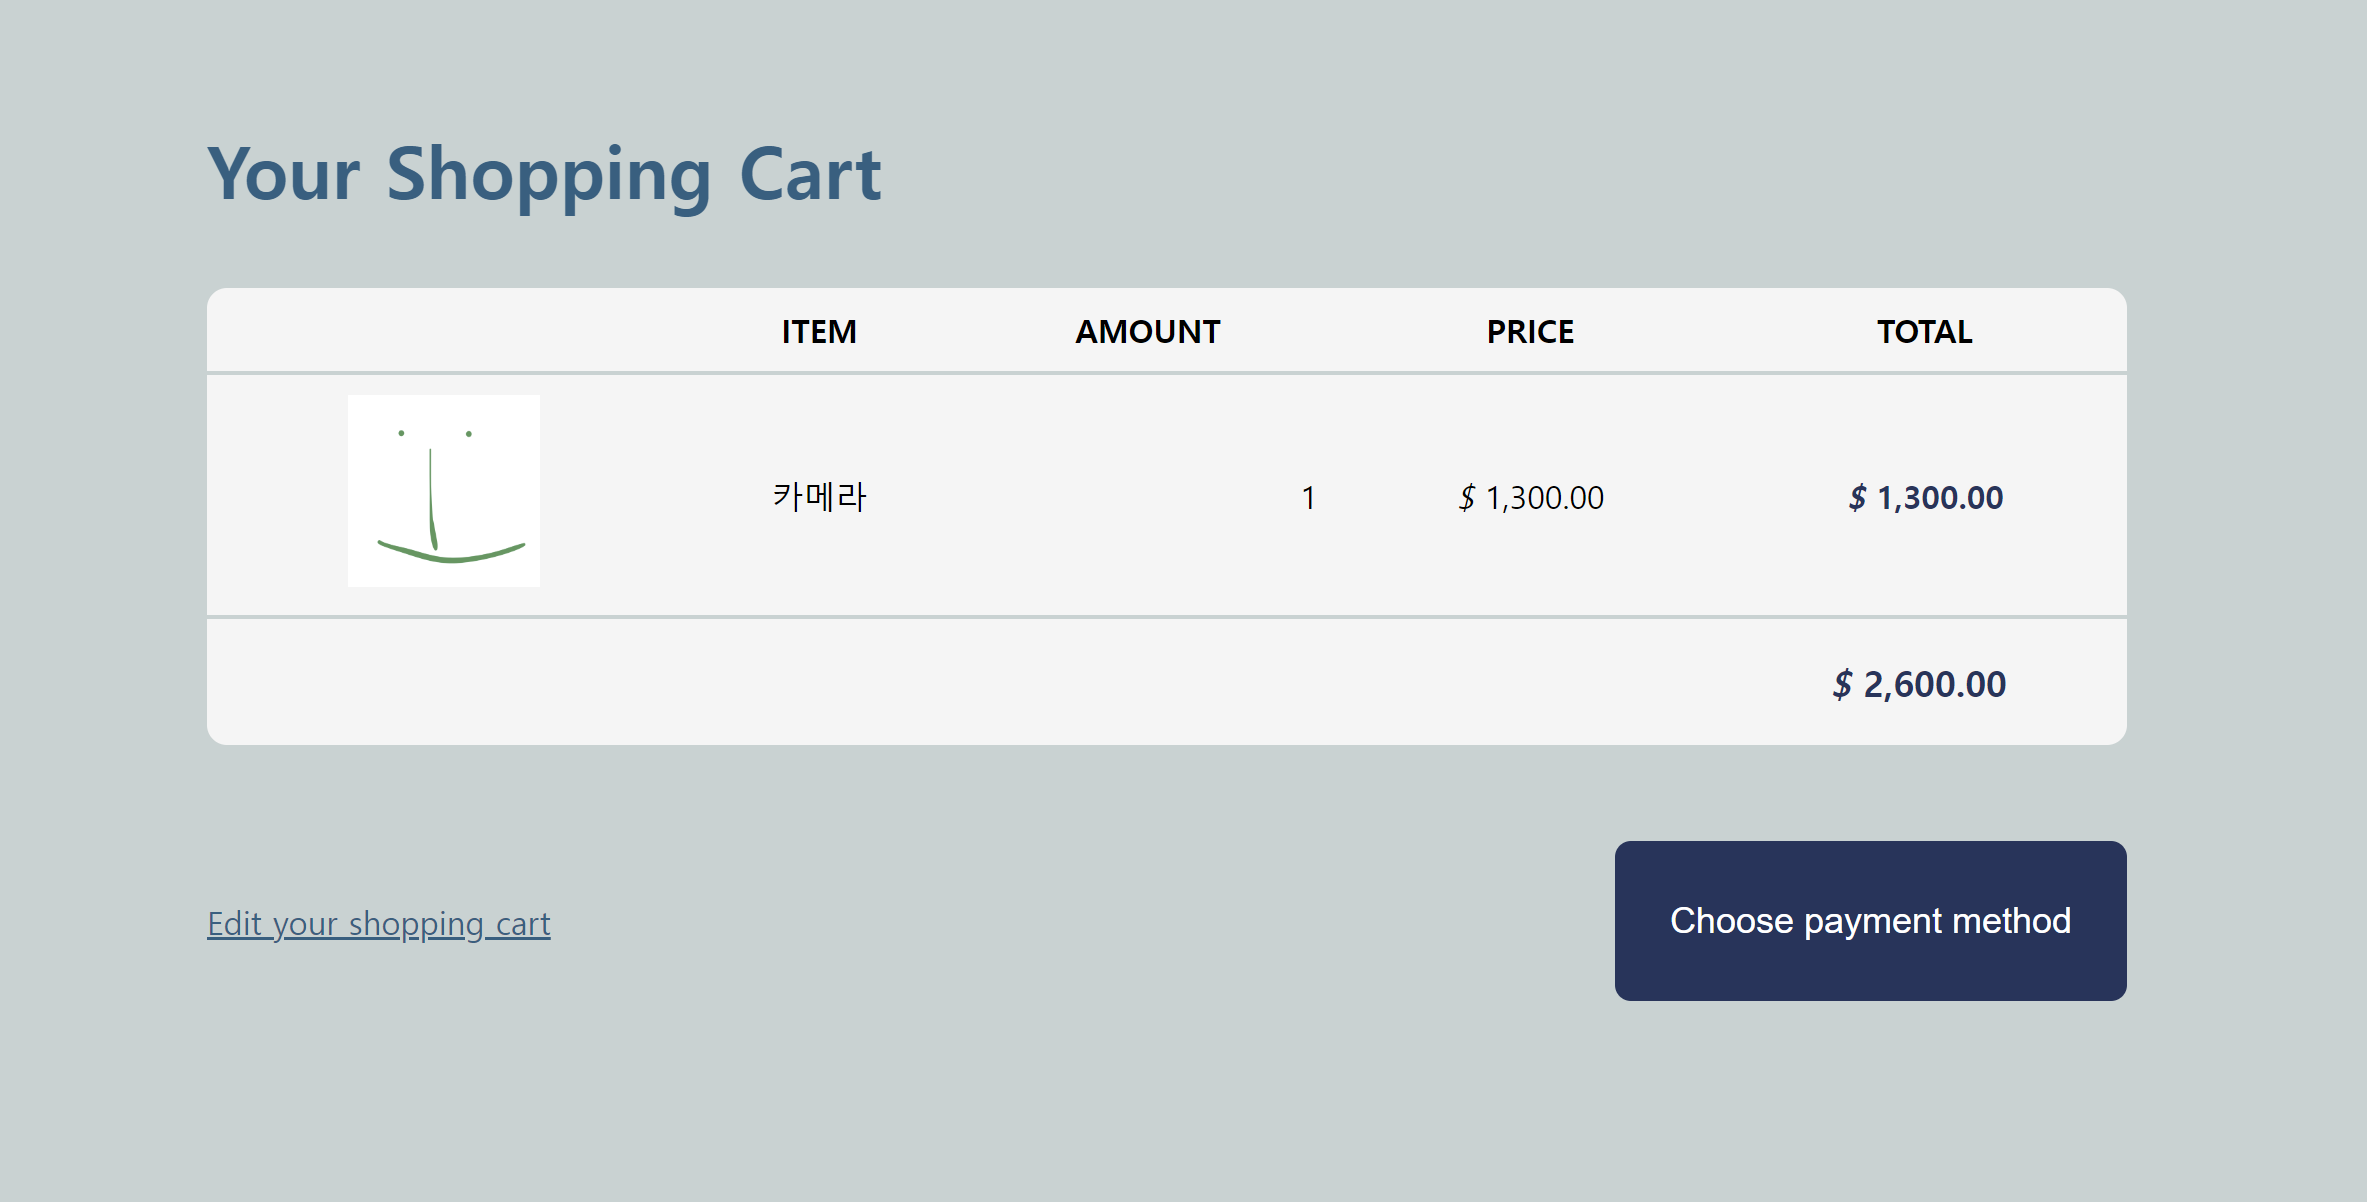
table을 배웠습니다.
사실 잘 모르겠는데
쓰다보면 익숙해지겠죠
태그가 왜이리 많냐고 오백번 정도 물었다.
html
<!DOCTYPE html>
<html lang="en">
  <head>
    <meta charset="UTF-8" />
    <title>Table</title>
    <link rel="stylesheet" href="/css/style5.css" />
  </head>
  <body>
    <div class="container">
      <h3 class="infotxt">Your Shopping Cart</h3>
      <div class="tbbox">
        <table>
          <thead>
            <tr>
              <th></th>
              <th>ITEM</th>
              <th>AMOUNT</th>
              <th>PRICE</th>
              <th>TOTAL</th>
            </tr>
          </thead>
          <tbody>
            <tr>
              <td><img src="/img/kooooo.png" /></td>
              <td>카메라</td>
              <td style="text-align: right">1</td>
              <td><span style="font-style: italic">$ </span>1,300.00</td>
              <td style="font-weight: bold; color: #1d345d">
                <span style="font-style: italic">$ </span>1,300.00
              </td>
            </tr>
            <tr style="height: 64px">
              <th
                colspan="5"
                style="
                  text-align: right;
                  padding-right: 60px;
                  font-size: 18px;
                  color: #1d345d;
                "
              >
                <span style="font-style: italic">$ </span>2,600.00
              </th>
            </tr>
          </tbody>
        </table>
      </div>
      <div class="ect">
        <a href="#">Edit your shopping cart</a>
        <button>Choose payment method</button>
      </div>
    </div>
  </body>
</html>
테이블 태그는 공부 조금 더 하고 따로 글을 파겠습니다.
혼자 다짐!
왜냐면 너무 뭐가 다양하더라구요
keep...해두기~
여기까지 공통적으로 어려웠던 점!!
자꾸 가운데로 안 감...
어디에 정렬을 넣을지, 어떤 요소를 써야 하는지가 너무너무 헷갈림..
그리고 태그 이름이 너무 어려움
div로 어딜 얼마나 구분할지도 헷갈리고...
총체적난국👻😍
오늘은 여기서 마치겠습니다.
기록용이거든요
아졸리다!
대한아수고햇다
'웹웹웹' 카테고리의 다른 글
| [웹웹웹/React] 카카오맵 Api 오류 기록하기 (1) | 2024.11.02 |
|---|

댓글